Blimp by Charles R. Hentz
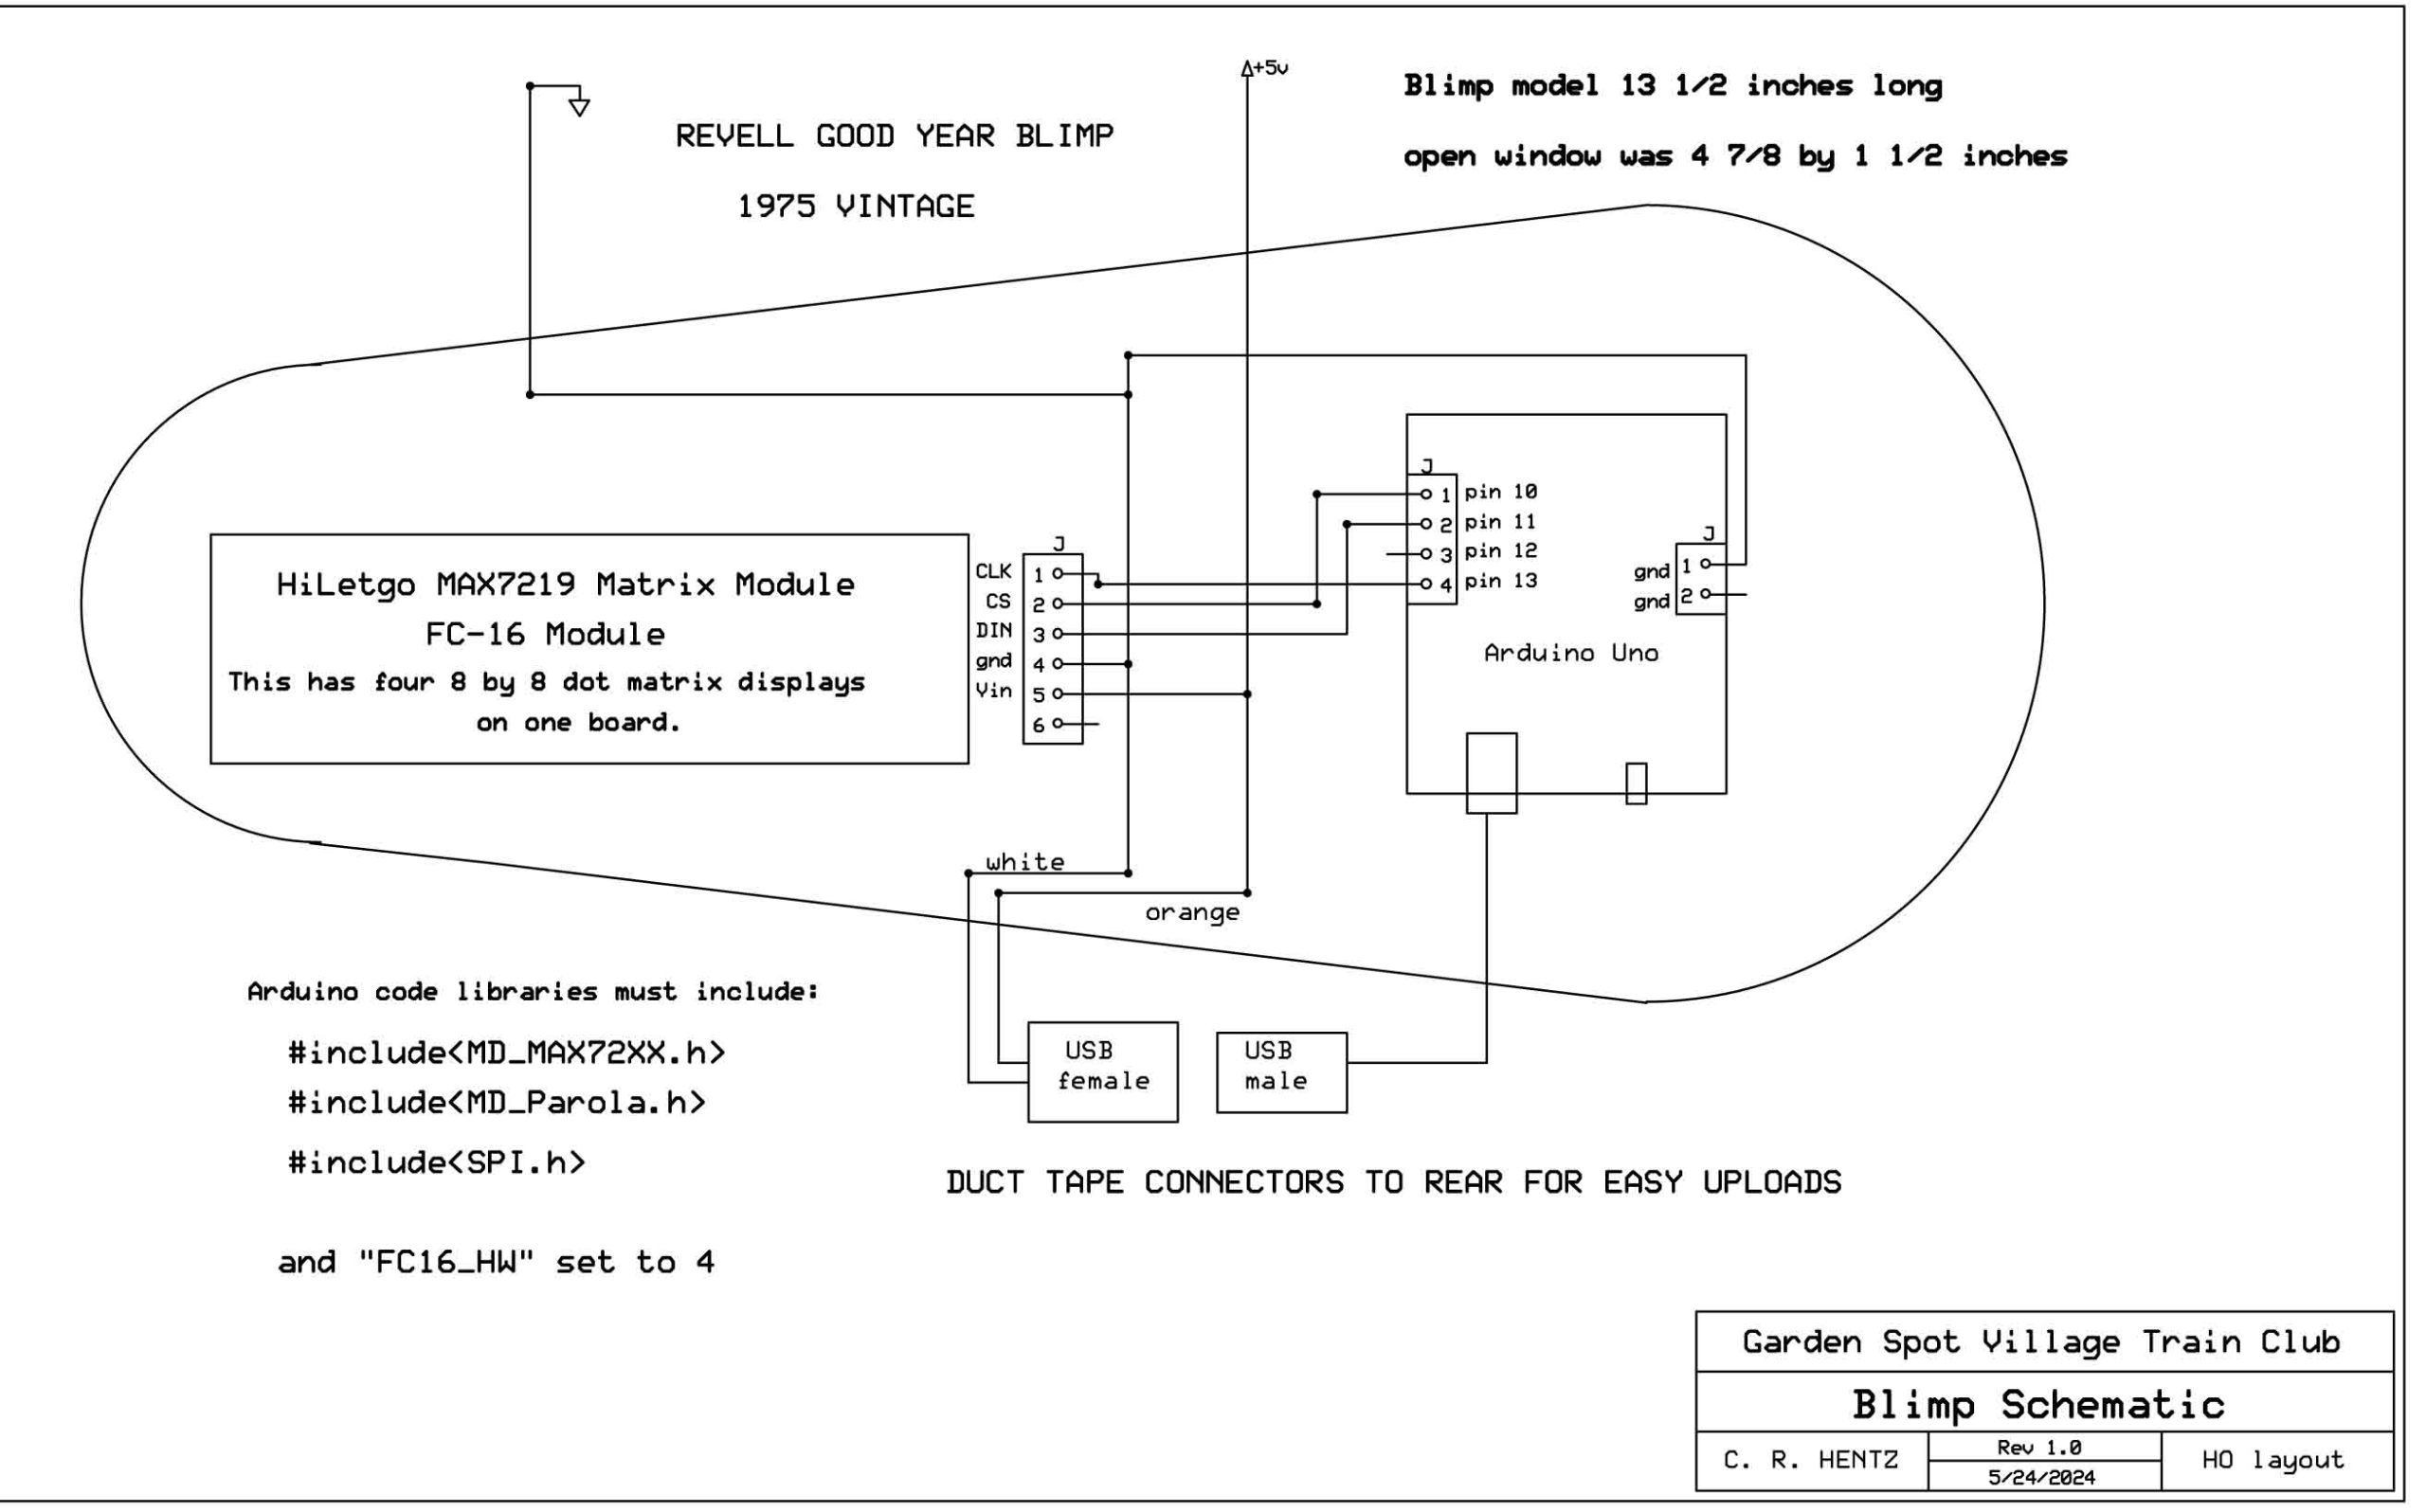
In 2024 we found a Revell Good Year Blimp model without decals on the internet for a few bucks . This model is 13 1/2 inches long and has an open window that was 4 7/8 by 1 1/2 inches for a revolving paper sign with lights behind. Such was the technology in 1975. Nowadays we can use some dated dot matrix displays which are much better. The window was just large enough to insert a HiLetgo MAX7219 Dot Matrix Module for the Arduino Microcontroller 4 in 1 display with 5pin Line for nine dollars. Although this is near N scale in size, if placed high and at a distance, the scale does not matter to our HO scale layout.
After removing all the inside apparatus, we had room for the Arduino and the Max7219 module. To provide a nice translucent window in the opening, cut and fit a piece of kitchen flexible chopping mat. These are just the right stiffness and are easily bent to shape. Duct tape to keep the display in position and one screw into a plastic support post for the Arduino. File a hole in the upper edge of the window half for the usb cord to the Arduino. Two top holes were drilled in the same half for foot long mounting wires that also supplied the five volts needed. Cut a female USB socket for taping on the rear of the blimp. This will be connected inside the blimp to the mounting wires and also supply the display. That way the display is not powered through the Arduino and allows up loading the Arduino without having to open the blimp. That blimp has a twist cap in the front and rear for easy access but this was better.
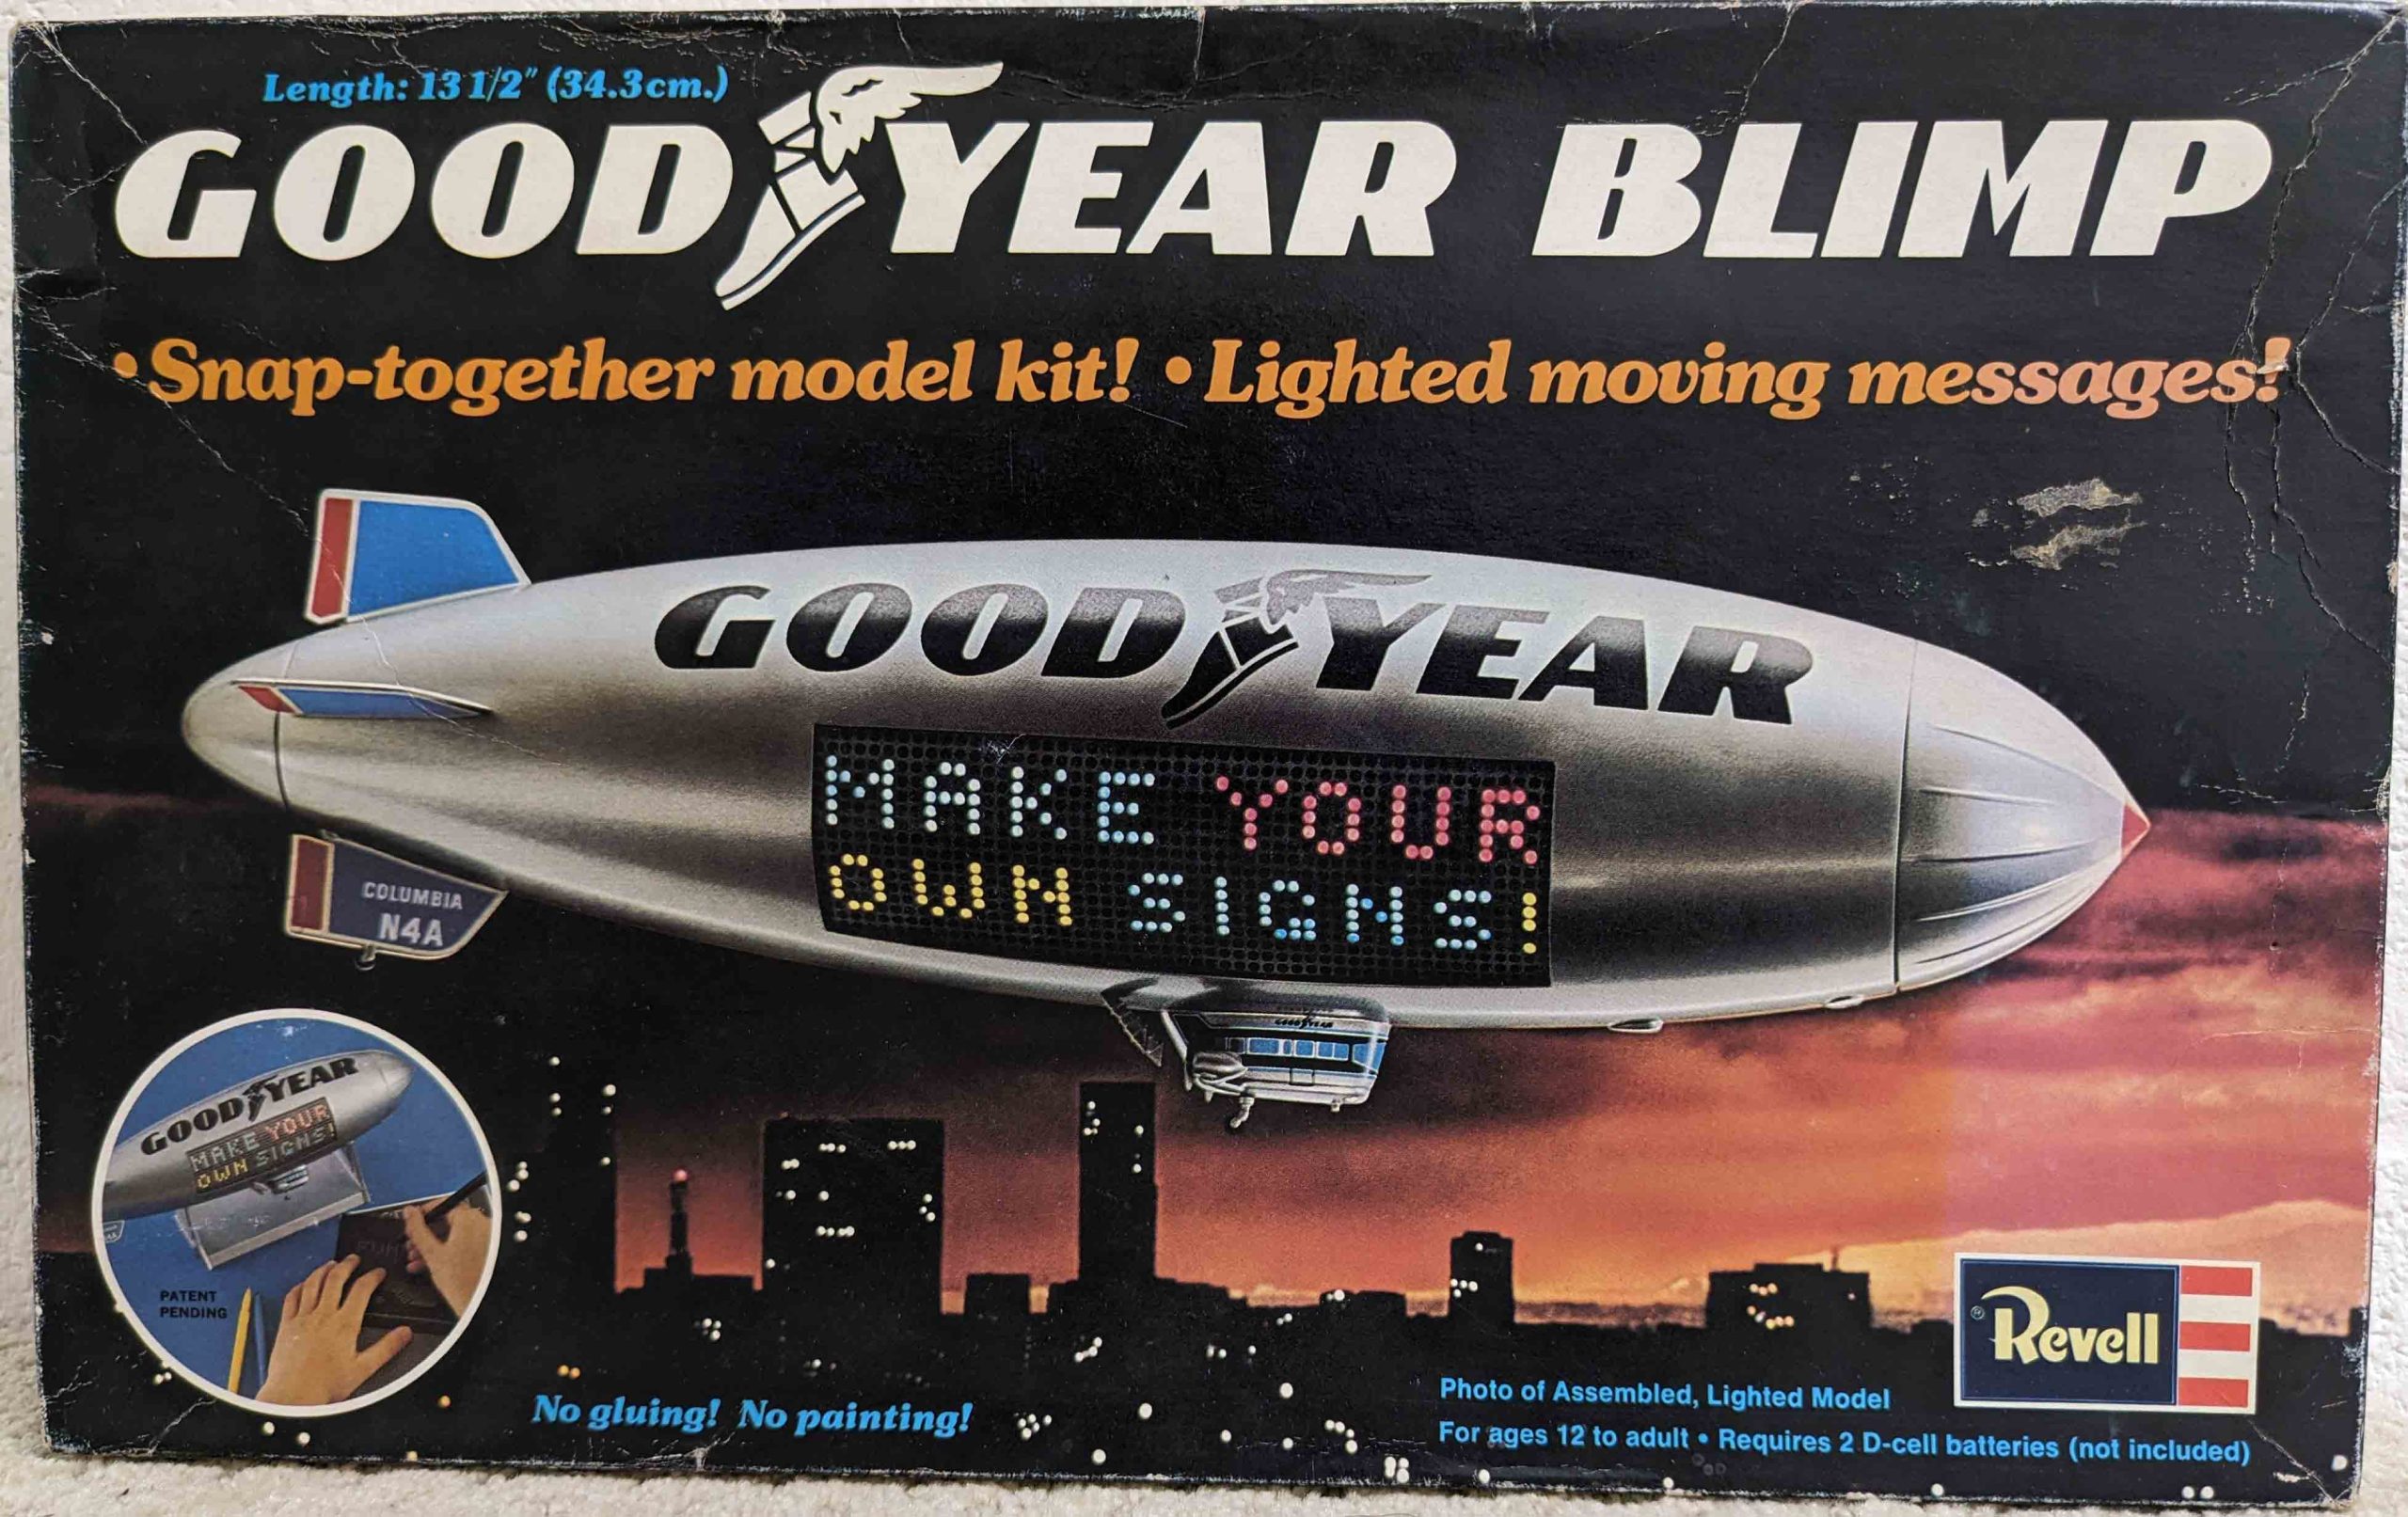
Revell model Box
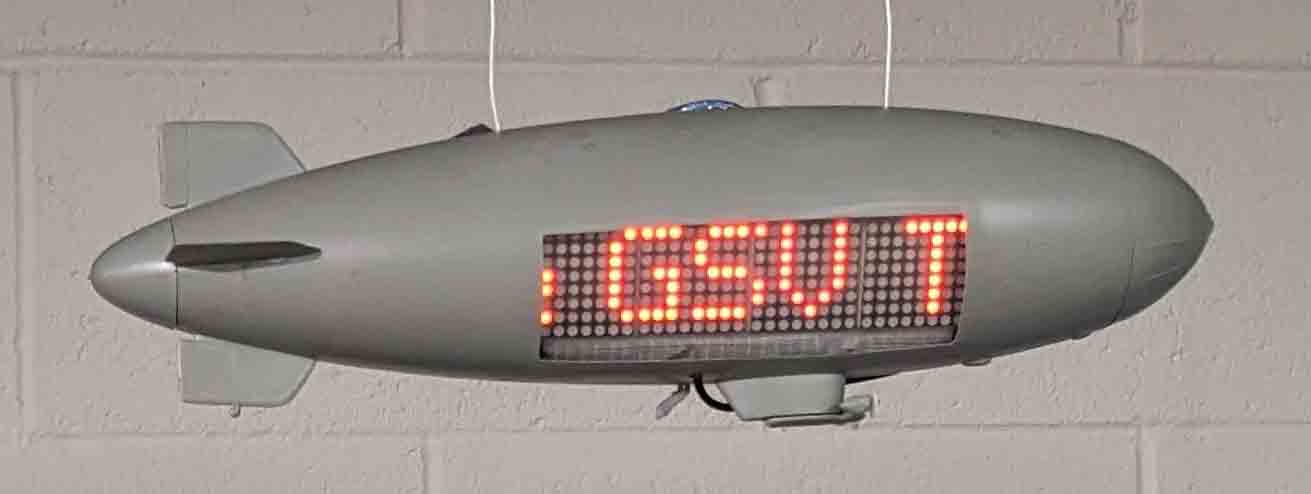
Blimp up close

blimp